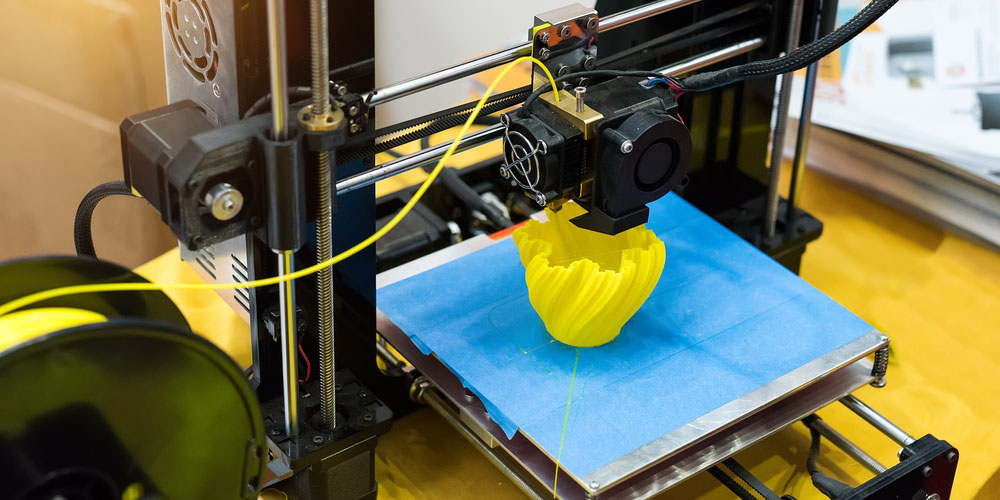
Rapid prototyping is a quick and cost-friendly technique for product development. It is used in several applications to create prototypes from molds or designs, which are later used to develop actual products. A rapid prototyping company offering this 3D service can turn your idea from a plan to a complete product ready to hit the market in a few days. This is due to the short production time and realistic parts produced. We discuss how to select the best rapid prototyping technique below.
How to Select the Best Prototyping Technique
It’s essential to know what the outcome of your product will be before approaching a designer. Different products require different designs and components, so the prototyping technique used will also vary. When choosing a rapid prototyping technique, there are factors you should consider, such as;
1. Design Complexity
The complexity of an object part influences your choice of rapid prototype process. The additive manufacturing process is suitable for things where the complicated part is small. Large objects like machining parts can be produced through the subtractive manufacturing technique. 3D printed designs are best worked on by the injection molding process.
2. Product Quality
Your product’s quality depends on the accuracy or fidelity of the prototype. Fidelity refers to the similarity level between the prototype and the actual product. If the prototype is of high fidelity, the end product will be of high quality. A low fidelity prototype results in a low quality product. Each of these levels of fidelity is achieved using different processes. Also, techniques that produce high-quality products are more costly and vice versa, so it’s essential to factor in your budget.
3. Quantity
Most clients approach manufacturers to have a product produced in bulk. Knowing the number of items you want is vital as it determines the cost and process needed to create them. Various rapid prototype techniques are less expensive when producing a small number of products, while others cost more to make a large volume of products. Also, more volume means more money and time taken. Manufacturers tend to charge more for large parts requiring printing since it takes too much time and effort.
4. Purpose of the Product
The New Product Development stages determine the purpose of a product. The four stages of NPD have specific requirements for eliminating risks that may arise in the production process. First, the planning stage needs proof of design models and demonstration units. 3D models and mock-ups created from cardboard are made using prototype techniques in this stage.
The second stage is the conceptual design which needs user interfaces and design assemblies. Next is the embodiment stage is where all prototypes are explored, and the designer ensures every detail is correct. Lastly, it’s the detailed design stage, and when a prototype gets to this phase, it shows that it’s fit for testing.
Conclusion
The above tips will guide you in choosing the best prototype technique to produce a prototype that best simulates your product. Then, with a bit of research on the rapid prototyping techniques, you can select the process you feel suits you best or allow an expert to help you choose.
